
Guest post by Coach Tawnee athlete Sam Morse, who’s a triathlete, grad student and instructor at UCLA.
I used to sigh when a recipe included “a handful of fresh XYZ herbs.” Yeah right, was I going to go to Whole Foods and spend five bucks on a measly packet of half-wilted organic thyme. No, no. Cheap and always accessible, dried herbs were my go-to.
And then I learned how to garden.
Having a basic herb and lettuce garden was always a dream of mine. But it remained in dream-world because I thought gardening would be 1) too time-consuming, 2) too expensive, 3) require too much space, and 4) I’d kill everything within days. With a little guidance and research, I learned none of these were true!
I now have a thriving herb and lettuce garden on my teeny tiny balcony, and I’ve even graduated to successfully growing my first veggie: squash. All this, and I live in an apartment with no yard. So no matter what your space situation and budget are like, you can make this happen.
Want more convincing to get started? Gardening is immensely relaxing and proven to be good for mental health, stress reduction and increasing happiness. In that sense, it’s a small act that’s part of the big picture of building holistic health.
So without further ado…
The Official LPC Guide to Growing Herbs and Lettuce with Limited Resources
1. Get your supplies
- 10 clay pots (standard size is 7.5”) and pot trays from the Dollar Store ($20)
- You could buy these on Amazon, but it’s slightly more expensive.
- Why buy pot trays?
- If you’re doing this on an apartment balcony, the person who lives beneath you will thank you (seriously, my neighbor thanked me). Before I bought trays, water would eventually leak out from the base of the pot–basically every time I watered–and spill over the balcony, leaving a dirty pool right at the entrance to my nether-neighbor’s home… Oops. The trays will collect the water (which will evaporate over the course of a day) and keep your space mess-free.
- 16 quarts of organic potting soil ($18)
- 24 ounces of soil charcoal ($12)
- Fill one of your clay pots with small gravel/pebbles/rocks from anywhere outside… or if you’re city-bound without access to free gravel, order this.
- Hint: Buy the gardening supplies before buying the plants! Why? If you buy the plants first, you might be tempted to leave them in the dinky plastic containers they came in while you procrastinate getting the other stuff. And your plants will die. On the other hand, if you get all the supplies first (and they’re cluttering your living space), you’ll be extra motivated to go get your plants and properly pot them right away.
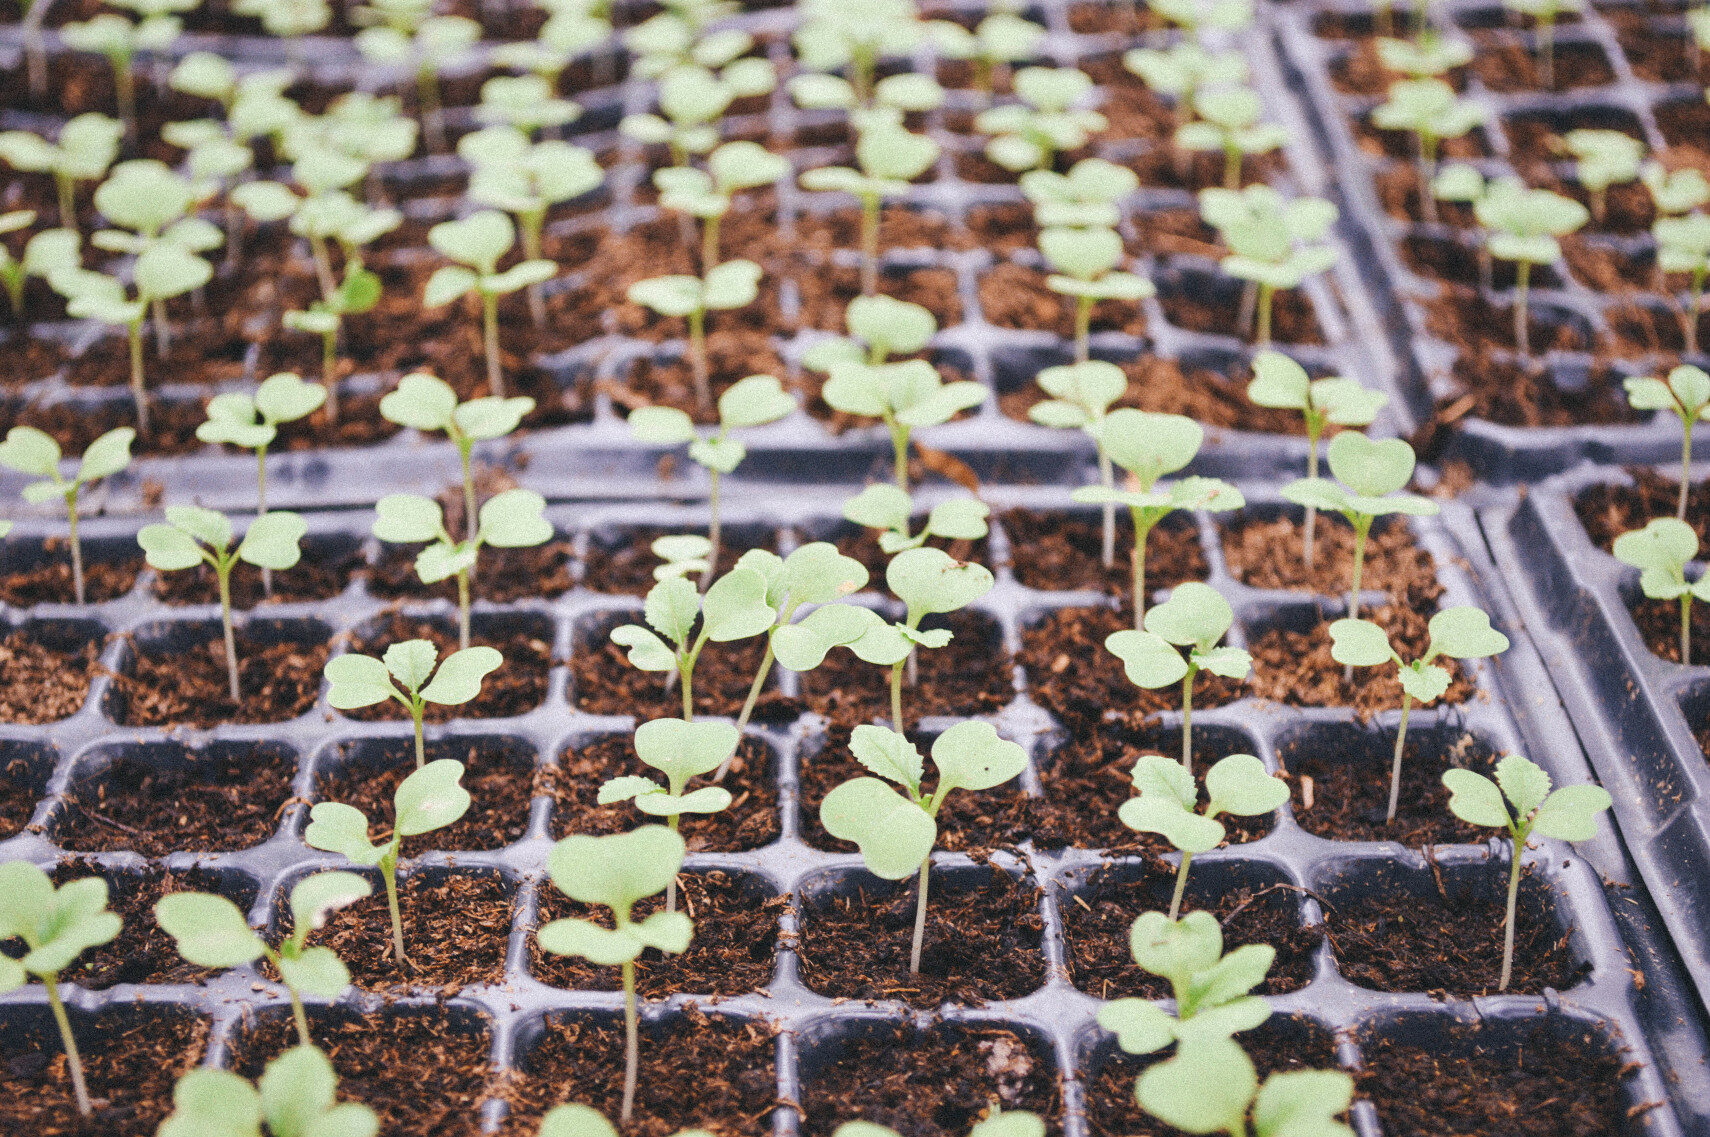
2. Get your plants
- I recommend starting with 10 different herb and/or lettuce plants
- Trader Joes and Sprouts usually have “3 for $10 deals” on various herbs
- I bought all my organic, fully-grown herbs and lettuces from a local gardening store for $4 a plant
- I’ve had great success with basil, mint, fennel, thyme, oregano, rosemary, cilantro, parsley, chives, red leaf lettuce, arugula, little gem lettuce, and curly kale.
- Why not use seeds?
- Seeds are definitely the most cost effective option, and will bring a higher-level of satisfaction to your green-thumb ego when they grow up into plants. But starting from seeds is the “Ironman” of gardening. Do yourself a favor and start with the “sprint distance.” After gaining experience taking care of plants (and enjoying their immense benefits!), you’ll be more eager and capable to start your next garden from seeds.
3. Pot your plants
- Put a rock over the hole in the bottom of your clay pot
- Place approximately 1” of soil charcoal in the bottom of the clay pot
- This helps the absorption of moisture so the roots don’t rot
- Place a little layer of gravel over the charcoal
- Also helps moisture absorption
- Fill the rest of the pot 3/4 full of organic potting soil
- Use your hands to burrow a hole in the middle to insert the plant’s roots
- Carefully hold on to the plant and pull it out of its plastic container. Be gentle, but don’t worry about being too rough. The plants are surprisingly resilient! You should be able to pull it out so a rectangular clump of dirt still surrounds the roots. Plop this rectangular dirt/root blob into the hole you made in the middle of the pot.
- Add more soil on top to fill in. Leave about 1” of space below the lip of the pot.
- If you fill it up with too much soil, soil will spill out when you water.
- Water your potted plant for the first time and look at it lovingly. Your plant is sooooo grateful you just removed it from its tiny prison and placed it in a nourishing pit of earthy goodness.
4. Basic plant maintenance
- Watering
- Plants, like most female endurance athletes, don’t thrive under intermittent fasting. AKA don’t forget to water your plants for a week then give them a massive “refeed” on Saturday when they’re all wilted and sad looking.
- Best to water your plants a little bit every other day or every third day.
- What is “a little bit”? Pour water in until water is about to spill over the top of the pot. DON’T wait for the water to sink in and refill repeatedly until the pot is super saturated.
- But, water intuitively. If there’s a heat spell, water every day. If it’s been particularly chilly/humid, you might not need to water as frequently. Get in the habit of looking at your plants every morning. Check ‘em out; how’re they looking? Are the leaves drooping instead of robust? Yellowish instead of green? Shriveled instead of full? These are signs that your plants are thirsty.
- Checking on your plants every day isn’t only good for the plants, but it’s good for you too! A lot of us type-A athlete/health types gain a lot of self-worth from our athletic achievements, and are constantly on the go. Cultivating a garden is a great way to gain pride in something that doesn’t have to do with your body. Also, gardening is a more “parasympathetic” meditative and relaxing activity, which is absolutely necessary to counter-balance the go-go-go attitude of modern life.
- Best time to water
- Early AM or late PM (before or after the sun is up). The sun will speed up the evaporation of water, meaning more goes into the air than the plant’s roots.
- Up your game…
- Dump the grounds from your morning coffee on the top layer of soil
- According to research published by Oregon State University, “Coffee grounds encourage the growth of microorganisms in the soil, which use nitrogen for their growth…”
- Many gardeners have also reported that the coffee grounds act as a natural pest repellent.
- Add compost directly to the top layer of soil or mix in with soil during potting
- Dump the grounds from your morning coffee on the top layer of soil
At the end of the day…
I spent just $90 establishing my garden.
Six months later, not a single plant has died. In fact, every one has grown and flourished! They look so much healthier than any in-store plant I’ve seen.
Best of all, having fresh herbs all the time has taken my smoothie and salad game to the next level. I throw in a handful of mint leaves to my post-workout chocolate protein avocado shake with cacao nibs for some minty choco goodness. For lunch, I’ll grab a variety of red leaf lettuce, arugula, and kale then add basil, thyme (actually, I acquired a lemon-thyme species that is to die for), rosemary, oregano, and chives. If I’m in a rush, I don’t even add veggies—homegrown, freshly picked greens are so magnificently flavorful, all I do is add a hearty pour of olive oil and balsamic vinegar plus pink Himalayan salt, and I have a flavorful explosion in my mouth in seconds!
Comment below with your garden successes and questions!
Sources
http://extension.oregonstate.edu/lane/sites/default/files/documents/cffee07.pdf