
We started composting 10 months ago and despite what you read or hear, it’s actually a very simple, easy, low-maintenance project with a lot of worthwhile benefits not only for your household but for our environment.
What Is Composting?
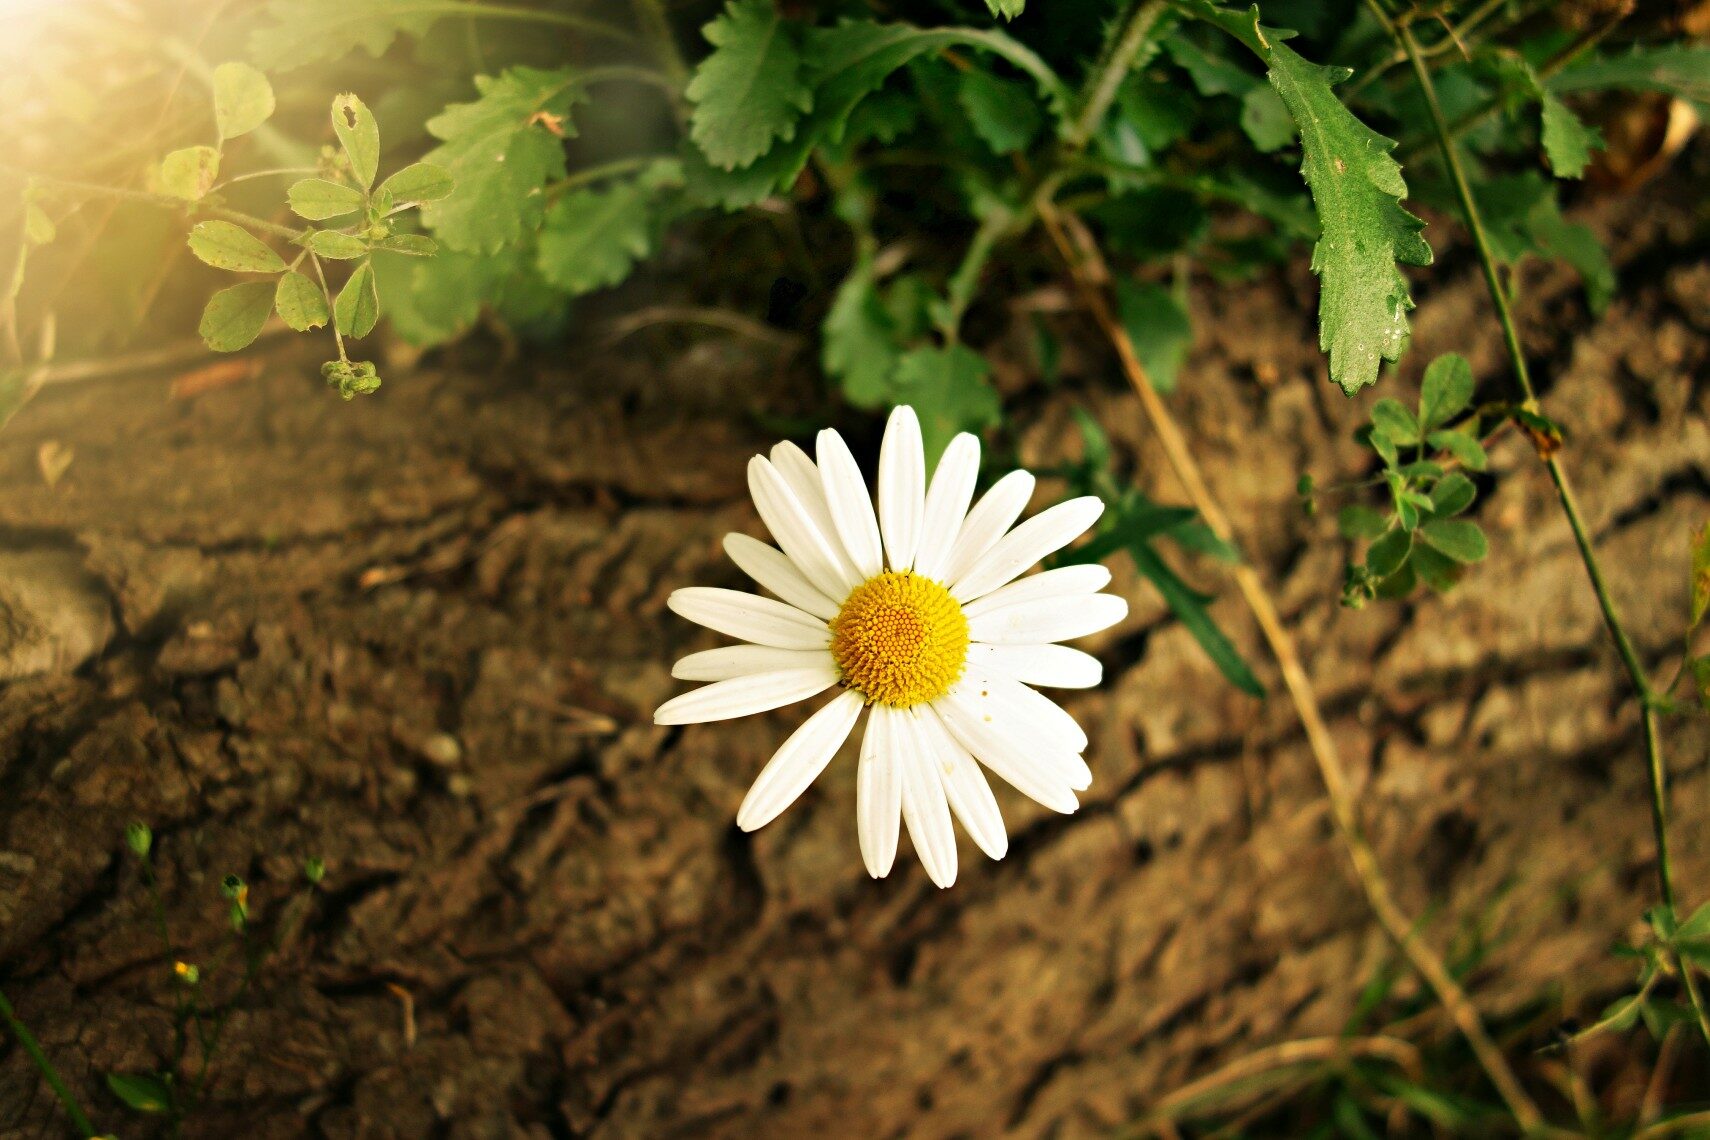
Composting is basically “recycling” formerly living material.
Benefits Of Composting
- Less trash/landfill waste—American families produce roughly 20 pounds of food waste (just food!) a month; why not recycle this in your compost pile instead!
- Healthier soil for growing plants with increased nitrogen
- Natural fertilizer
- Recycles kitchen and yard waste—if you follow a diet rich in whole, natural foods you will find it incredible how much of your kitchen waste (food scraps) can go to compost and not in the trash. In fact, “recycling and composting prevented 87.2 million tons of material from being disposed in 2013, up from 15 million tons in 1980” [1].
Supplies & Space Needed
There are a couple different ways to compost. We don’t recommend doing it in the house so as not to attract insects or other critters. You also don’t need a large yard or garden to qualify—a small balcony is enough to compost.
The only really necessary items are a trowel or shovel (depending on the size of your pile) and something to cover the pile to keep out excessive moisture and to trap heat. A cheap, large piece of 1” thick wood from the hardware store will do.
Also, consider getting a small airtight compost bin, “waste collector” or special trashcan for inside the house to keep in or near the kitchen. This is what we do (this is what we use), and it’s an easy way to collect compostable materials before adding them to the outside pile—make sure it has a lid that seals well to avoid flies, bugs, and bad odor.
Garden Compost:
Find an available dirt patch in your yard or garden, a space of 3 x 3 x 3 feet is ideal. Then, simply dig! Down the road it’s easy to increase the size of the hole as necessary—as we’ve found to be the case.
Balcony/Patio Compost:
The only real difference here is that you are using some sort of bucket, trashcan or a planting pot with a lid instead of digging a hole. You can choose any size bucket or pot, it really depends on the space you have available and how much waste you accumulate. It doesn’t have to be, nor should it be, an air tight lid. Pots already have holes in them but if you use a bucket or trash can make sure to drill some holes near the bottom to improve aeration.
Room permitting, it’s beneficial to create two compost piles. When one gets full switch to adding compostable material to the second while the first pile is breaking everything down. Once the first pile has broken everything down, spread the dirt around your garden and start over while the second pile is doing its thing.
If you don’t have the space or desire for two piles, don’t worry about it, it’s not crucial.
What To Compost
Basically anything that was once alive. Here is a partial list (we’ll get to the nitrogen vs. carbon stuff soon)…
- Coffee grinds and filters (nitrogen)
- Vegetables, whole, chopped or discarded pieces (nitrogen)
- Egg shells (neutral)
- Grass clippings (nitrogen)
- Leaves (carbon)
- Newspaper (carbon)
- Cardboard (carbon)
- Egg cartons (carbon)
- Tea bags or loose
- Dryer lint (carbon)
- Flowers (nitrogen)
- Pine needles (carbon)
Ideally you should add nitrogen items with carbon items and vice versa. And anything that is bulky (think corn cobs or full pieces of vegetables) it’s better to cut them up a bit either with a knife or I’ll just spear them with the shovel.
What Not To Compost
The only formerly living item(s) I would avoid is animal flesh or animal byrpodcuts (i.e. bones from bone broth, fish skin, etc). They will compost but they tend to attract bugs, rodents and potentially even larger scavenging animals. Also avoid dairy products and oils like olive oil that may attract animals. Lastly, be careful with baked products (like bread). They will compost but baked goods, especially with sugar, are very attractive to animals. Bury them deeper and try not to add more than a couple pieces every week.
Creating Optimal Compost
A lot of people will claim that you can’t get compost started without the perfect ratio of carbon and nitrogen items (the idea being there needs to be more carbon than nitrogen, about a 3- or 4-to-1 carbon-to-nitrogen ratio). Our experience is that a better ratio will speed things up; however, it’s not detrimental to the overall development of the compost pile if your carbon-to-nitrogen ratio isn’t perfect.
To start building up a strong compost pile quickly get good base layer to start, using sticks for the base layer. Provide about a 2-3” base (typically about the bottom 10-20% of your space) to help with water drainage and aeration. Sticks work well here since they are strong and aerate well. After that just layer on compost materials alternating between dry goods (like tea bags) and dry items (like leaves). It’s helpful to mix and match carbon and nitrogen items in each of these layers as best you can roughly following the above-mentioned ratio.
How To Keep It Going
It’s pretty easy, that’s the beauty. Add more compostable material as you generate it (if you have a smaller collection bin that’s kept in the kitchen, just empty into the compost pile whenever the bin gets full), keep it moist by adding water when the dirt gets dry (but not wet) and let it generate some heat (direct heat not needed, the compost pile will generate heat on its own and will retain heat if covered)—science will do the rest. If you are able to add carbon and nitrogen in the recommended ratio so much the better. Mold, crawling bugs, earthworms, etc. are all normal and helpful to the process. The healthier the compost pile, the faster things should break down. You know it’s working when, after a couple days to a couple weeks, it goes from looking like a pile of scraps to just dirt
In addition to maintaining moisture via watering, there are a few other chores:
- Turn or mix the compostables with a shovel every week during the summer, and every 2-4 weeks in the winter. You want to spread around the composting material since some of the material will compost faster than others. You also want to distribute the heat and moisture throughout the pile.
- Sprinkle in soil from the garden (if possible) along with some water, and mix.
- Keep the cover on it all times to trap in heat.
Every once in a while, a food product will produce an unwanted smell. If you are picky about what goes into your pile this shouldn’t happen, but we all makes mistakes. If the pile smells badly, add a good layer of dirt on top of the compostables or spread some yard scraps on the top to smother the offending product and it will resolve.
What Should It Look Like?
The end result should look like a healthy and moist pile of dirt—the food waste and materials literally turn back into “earth.” Use half (or more) of it to distribute around your yard (especially in gardens) instead of fertilizer—it’s better for you and the plants (i.e. chemical-free) and it’s cheaper! If you don’t have a yard offer it to a neighbor, put it in the flower bed out front of your building, or anywhere else that healthy dirt will help.
That’s it! The key is really just to go out and get your hands dirty (pun intended) and let nature do its work.
Resources