
20min
24hrs
24.3hrs
equipment: 1 quart measuring cup , Crockpot , Hand-held strainer , Soup ladle , Wide-mouth mason jars
Bone broth is a trending health food these days, and I’m normally weary of trends, but in this case I’m stoked to see bone broth going big time. I consider it “nature’s medicine” and a true superfood.
Feeling a bit under the weather? Hit the bone broth. Need enhanced recovery from your training? Bone broth. In need of gut healing? Bone broth… Bone broth is chock full of vitamins, minerals, and antioxidants, and it can improve and heal so many various aspects of our health: gastrointestinal, digestion, immunity, allergies, brain, cardiovascular, and nervous system, to name a few. The high collagen content is a super power to enhance quality of skin, hair, joints, nails, even aiding in natural anti-aging. And your adrenals will thank you when you sit down with a hot mug of bone broth, sip and relax.
Amino acids in the broth, in particular glycine, have a number of beneficial effects that keep our muscles and connective tissues strong, our hormones pumping, and our memory and energy on point. In fact bone broth is one of my favorite post-workout recovery drinks—I keep a full mason jar in the fridge and chug some after I finish up (who needs the sweet stuff?!).
Best of all, bone broth is so dang easy to make at home (avoid store bought when possible and get back to the art of homemade). If you’re not doing this already, it’s time to start. It also makes the house smell lovely for 24+ hours. And if you’re a diehard LPC fan you’ve already become familiar with the best-ever roasted chicken, so you’re almost ready to go. Just save the bones and carcass for a batch of broth—every time! You can also usually get bones at certain stores or farmers markets if you ask. And it doesn’t have to be just chicken—beef bones work great too. If you can find them, try fish broth as well!
Before you start:
Secret #1. Apple cider vinegar (ACV). Quite frankly, most bone broth recipes are pretty similar. Mine stands apart because I tend to go heavier on the ACV. I don’t measure it when adding, but I’m guessing between 2-4 tbsp. goes into each batch I make. The ACV is not just for flavor although it adds a nice zing; it helps extract the minerals and nutrients from the bones and into your broth. So start with at least a couple tablespoons, see how you like the taste, and next round try more or less based on your preference.
Secret #2. Chicken feet and organs. These are The optional ingredients, but they are encouraged to enrich the nutrient content. For organs, I use the package that comes in the cavity of the bird upon purchasing (not all will have this, that’s ok if yours doesn’t), and when we roast the bird I save them in a glass container in the fridge to later add to the broth—use within 24-48 hours preferably.
Chicken feet are also dirt cheap at places like Whole Foods or meat markets, and a dense source of collagen. If you’re squeamish about animal “parts,” handling the feet may be a weird experience, but I say go for it! It’s the circle of life, folks.
Optional Ingredients
Directions:
1. Bust out a 6-quart crockpot and get it set up in a place where it can live for 24 hours.
2. Chop all veggies into ½ to 1-inch pieces—a rough chop is fine.
3. Add carcass, bones and organ meats to the crockpot, and fill with filtered water, leaving about 1-2 inch of space. Then throw in your veggies. Add the ACV, and salt.
4. Add more water if there’s room.
5. Turn the crockpot timer on for 24 hours, and start it at “high” to get things heated up. If it gets to a boil, that’s fine. Once it gets to a boil, turn to “low” or “simmer” on the crockpot and let it remain here for the majority of the cooking time. (If it boils for a while and you don’t catch it right away, that’s ok, just turn down heat when you can. If you’re not going to be around, start the crockpot on low or simmer and add 1-2 hours of cook time.)
6. During the cooking process, a frothy/foamy layer may form. This is simply some impurities coming out, and you can use a spoon to skim the top of the broth and discard this stuff. It doesn’t mean your broth is ruined.
7. In the final 1-2 hours add the herbs and seasonings. I’ll usually throw in a little garlic powder and ginger powder in addition to herbs. I tend to use mostly dried herbs except for parsley; I prefer to add about a half a bunch of fresh parsley.
Once it’s done, how to get it out?
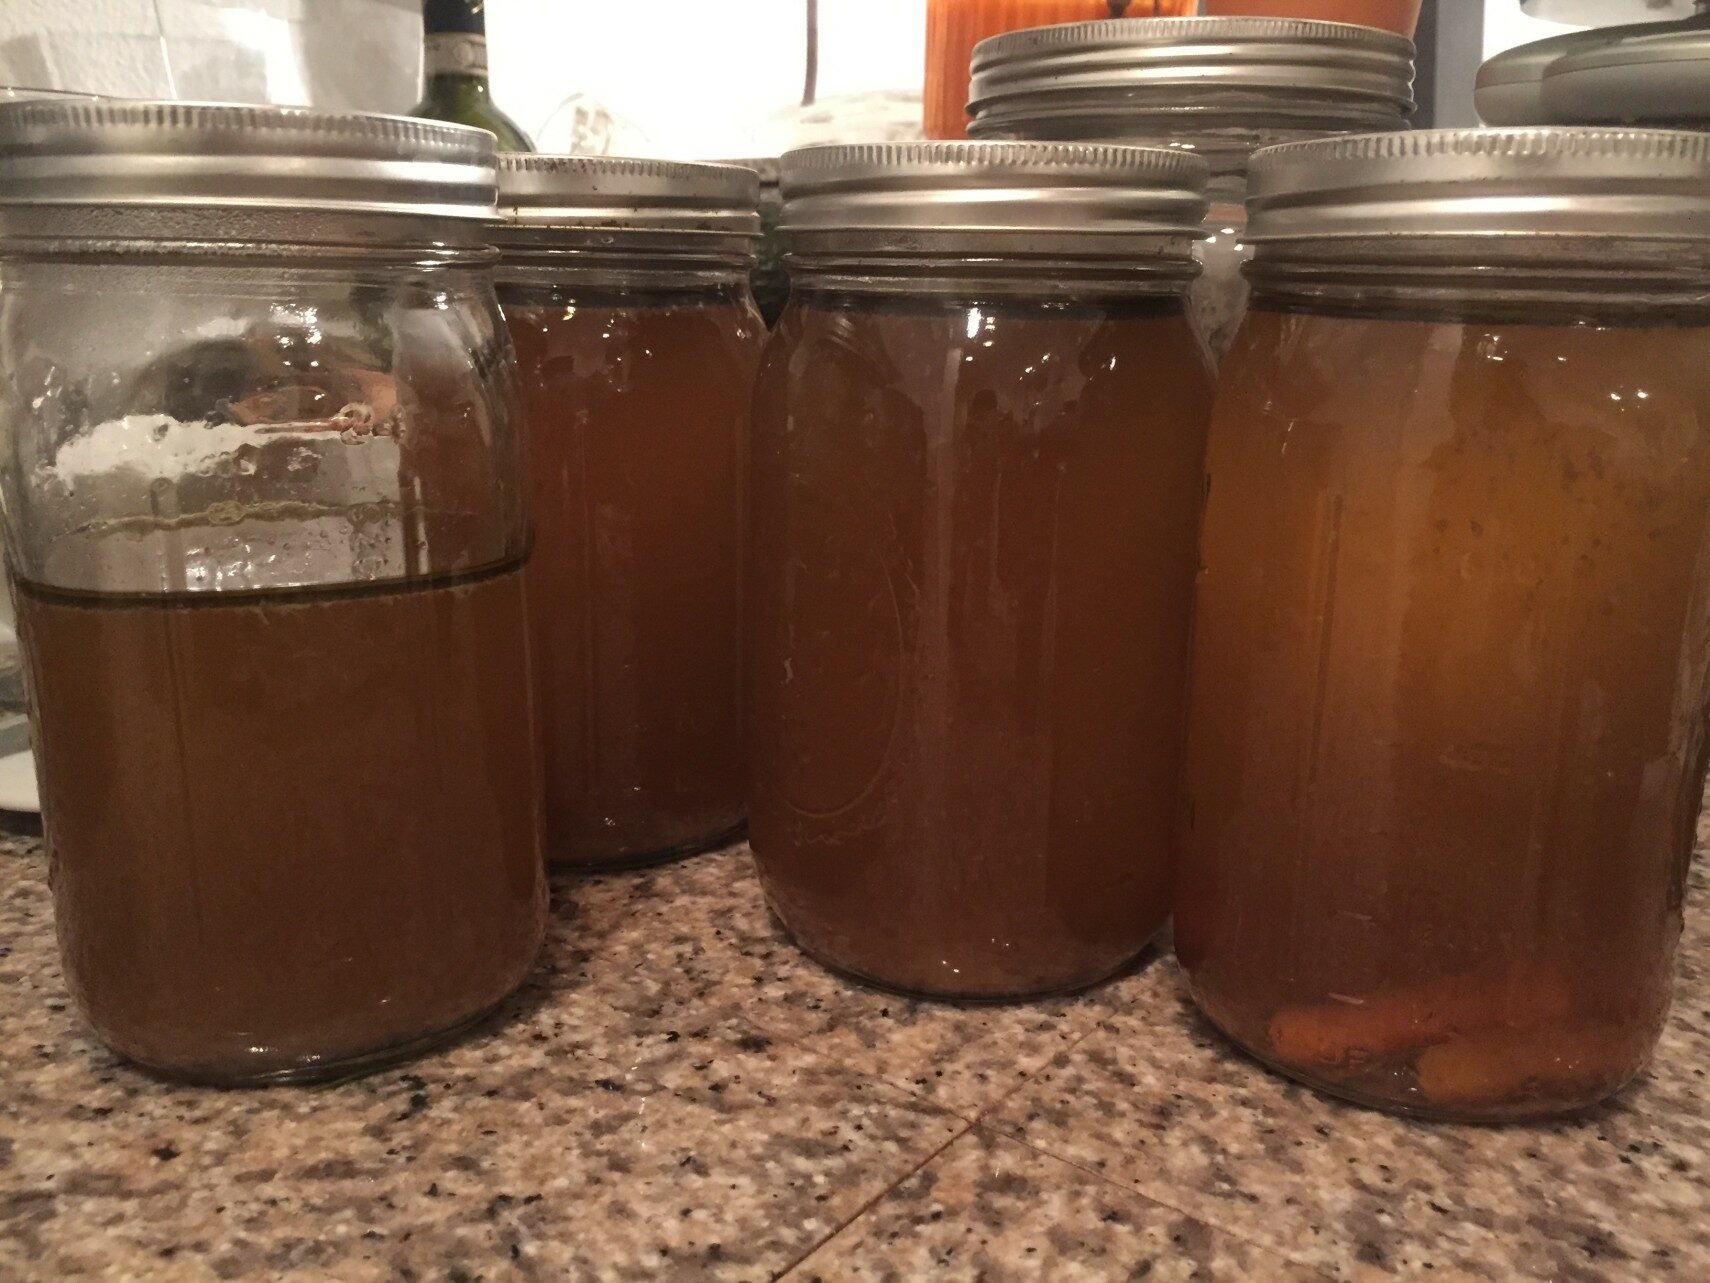
Couple options here. Some people like to keep the veggies in their broth, and I have done this, but over time I’ve decided to discard the veggies and just keep the broth. (Note: in featured photo you can see a couple carrots that snuck their way into a mason jar, lol.)
Either way, you need to strain the broth and honestly it’s probably best to discards the veggies if you use my method…
Secret #3. What you need to strain like a pro:
- Wide-mouth 32 oz mason jars (4-5 for a 6-qt batch).
- Wide-mouth 1-quart measuring cup (5 ½- to 6 ½-inch opening)
- Hand-held strainer (8- to 10-inch diameter)
- Soup ladle
- Trashcan (sorry, not for compost)
Set the measuring cup up right next to the crockpot, place the handheld strainer ON the measuring cup and ladle the broth into the measuring cup so that is gets strained in the process. The chicken pieces and veggies will gather at in the strainer, keep adding broth until measuring cup is full. Then trash the stuff in the strainer and pour the broth into a mason jar (this is where the measuring cup is clutch). Repeat until the crockpot is empty!
Let the broth cool a bit before adding tops and putting in the fridge—up to 20 minutes maybe.
Enjoy!
Add your thoughts